The Process
Surface Preparation
"Its all in the preparation" and this is especially true when applying exterior wall coatings.
Prior to beginning any project the first step is to ensure all surfaces are reasdy for the application of the coating.
We power wash and use fungicides to ensure surfaces are clear of any grime, dirt, algae and fungi buildup.
This can also helps to remove any loose paint and debris and reveal any damage to the surface area. If necessary loose material is removed using wirebrushes, scrapers or power tools.
Masking up
Our team always ensure your property is kept clean and all areas that do not require coatings or addiotnal work are covered using durable paper, masking tape and dust sheets.
This includes all windows, doors, drain pipes, guttering, fascias, paths, patios, wood work, lawns, gardens and brushes.
Rendering, Restoration and Repair.
All surfaces are repaired and restored, damage such as cracks are repaired using a two part resin based filler.
Crack stitching maybe required for areas where major cracks have occured due to property movement, this is more common in block work.
Areas of blown and damaged render are removed and re-rendered to match the existing surface where possible.
Stabilising Coat
When all surfaces are sound, a stabilising coat is applied.
Undercoat
An undercoat is applied to all exterior walls that are to be treated, this provides a sound and uniform surface for our weatherproof coating.
Wall Coating Application
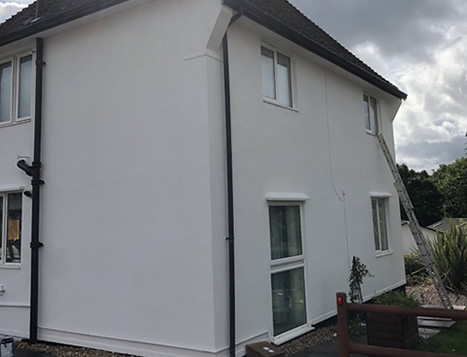
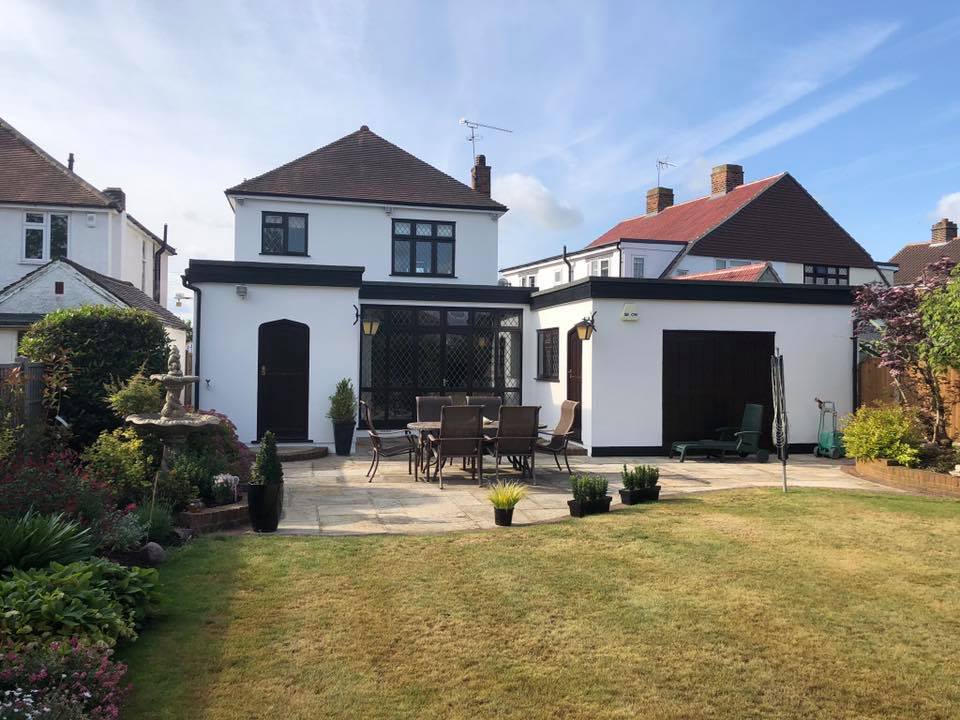
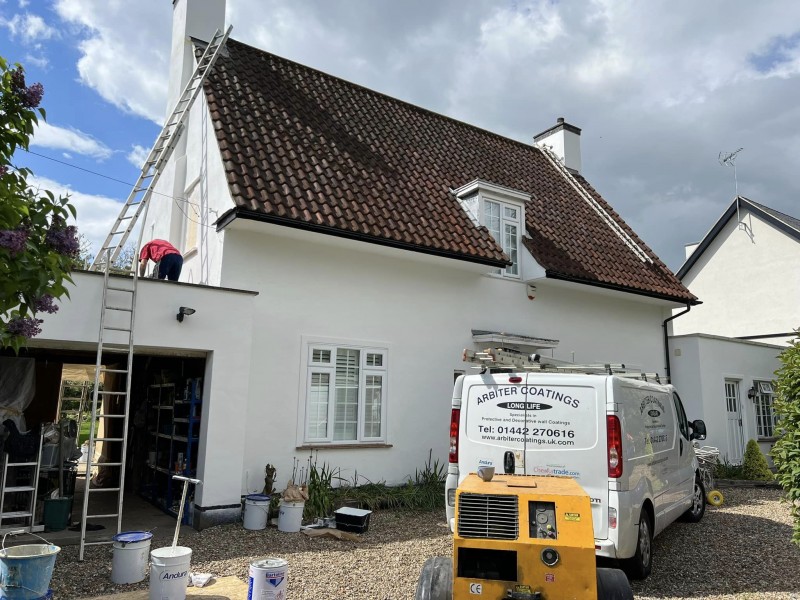
We use only the very best exterior wall coatings from Andura and this is the final stage of our coating process. The wall coating is applied by spray gun to achieve a consistent and professional finish.
Unmasking & Site Clearance
Once the job is complete and dry our team will remove all masking from doors and windows, clear the site of all rubbish.